Quarantine Wurlitzer 200

Quarantine Wurlitzer 200
May 29, 2020 Mike Novak
In Wurlitzer

A photo series of our restoration process from the home workbench during COVID19

Just before the stay-at-home order went into effect in Chicago, we sold this piano. We figured it was a good time to properly document our approach and technique for restoring a Wurlitzer 200 series piano. This one started off in very rough cosmetic condition, but looked promising on the inside. Pour yourself a coffee/bubbly water/beer and get ready for some scrolling! Lets start at the beginning:

Where it all began...
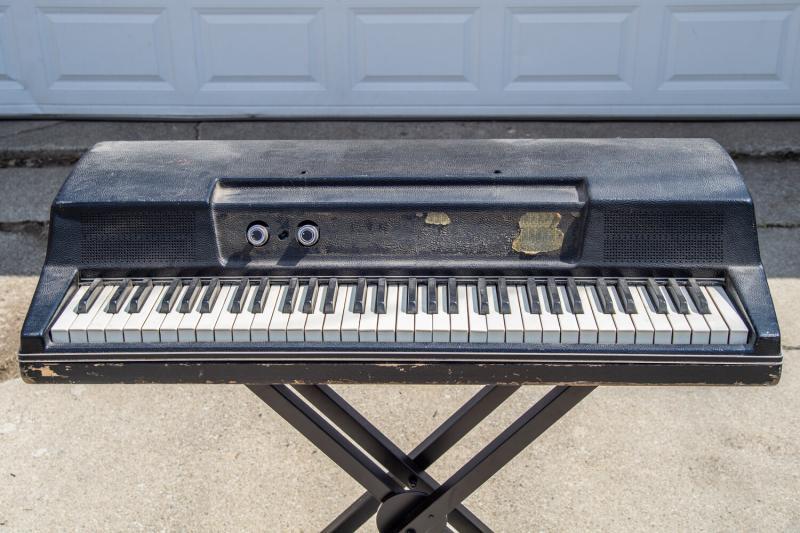
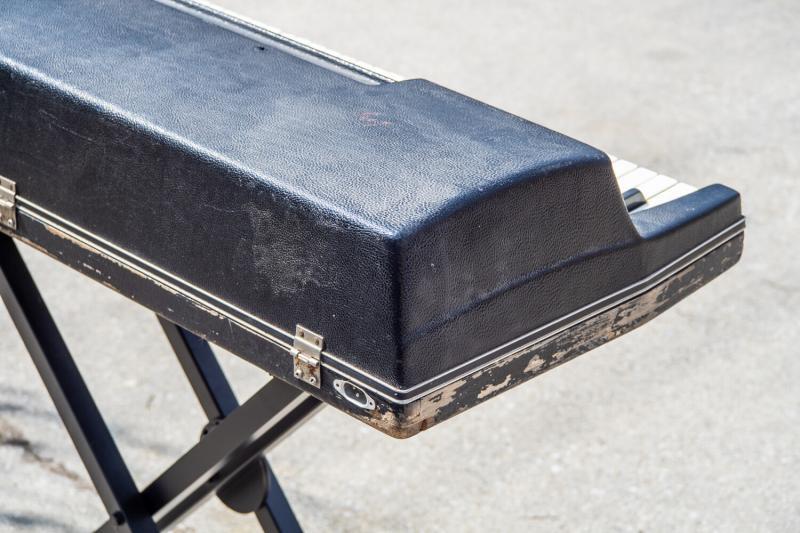
Rough original cosmetic condition
The black lid appears very faded
Signs of a hard life
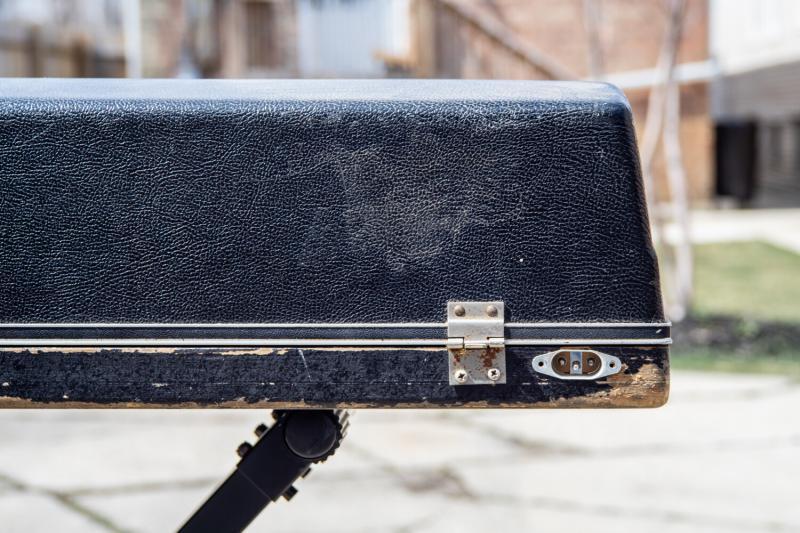
Original power receptacle. This one had been rewired with lamp cord at some point.
We received this piano without leg plates
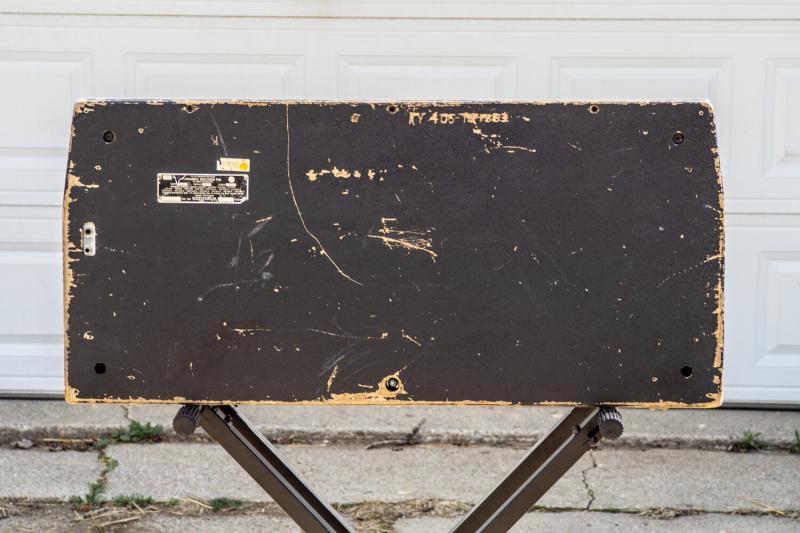
Many scratches and scuffs
A deep split in the base
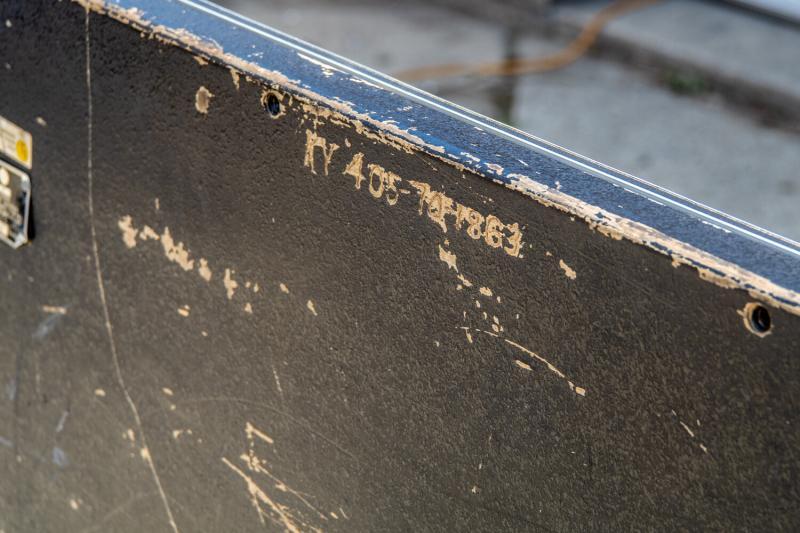
Perhaps the SSN of a previous owner?
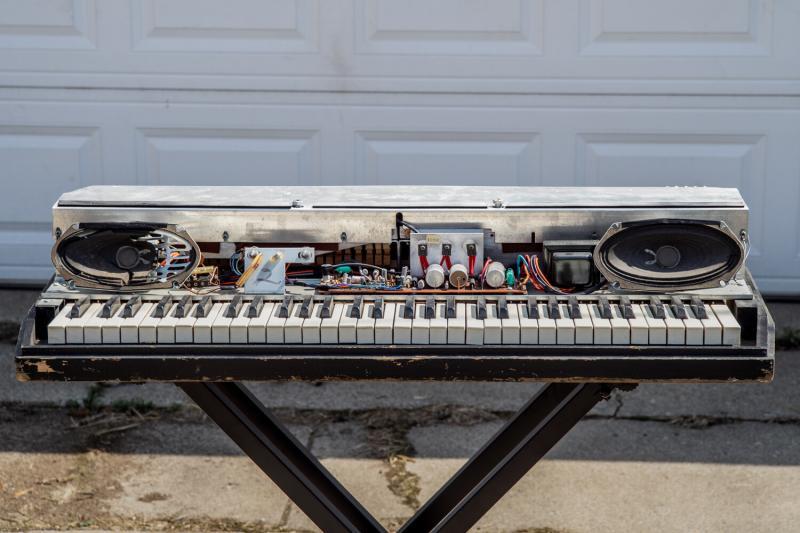
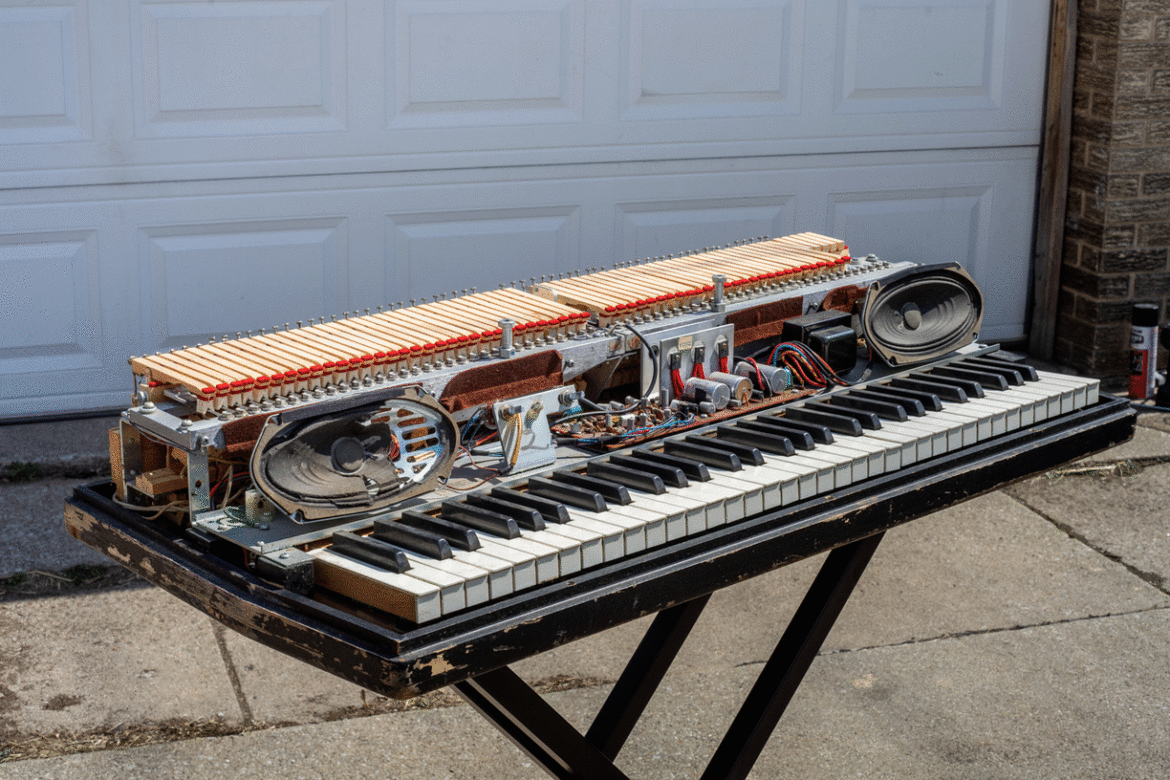
Under the hood.
What happened to this speaker cone!?
Lamp cord cabling and years of dust.
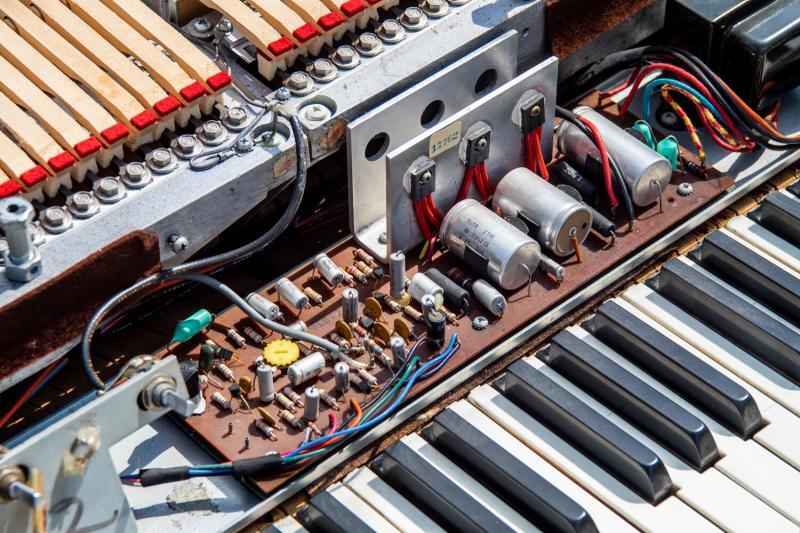
Original electrolytic capacitors on this 200 amp board
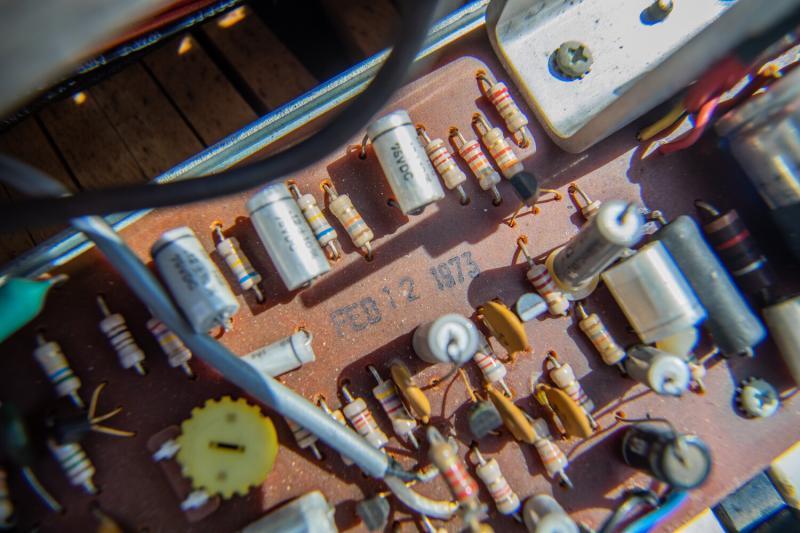
You can often find a date stamp printed on 200 series boards.


The disassembly process in .gif form

All the pieces of the puzzle. Complete disassembly of the Wurlitzer 200.

A rigorous lid inspection

Refinishing the base:

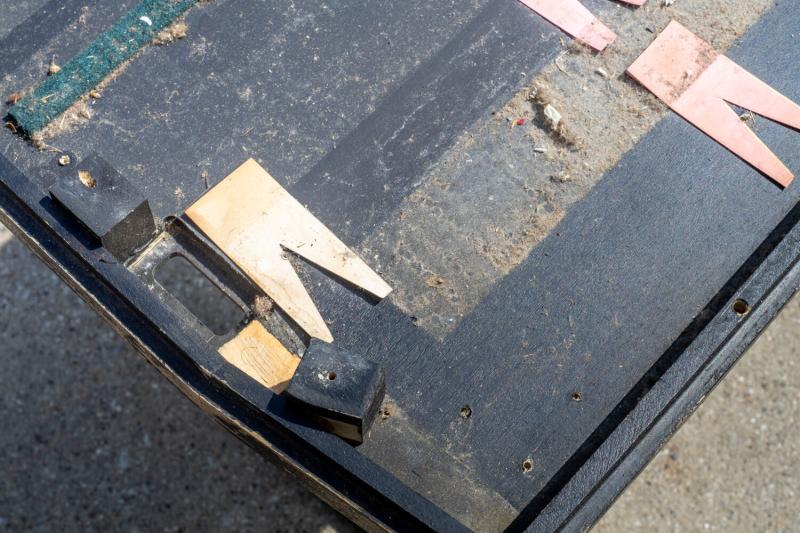
Disconnected block that holds amp rail in place.
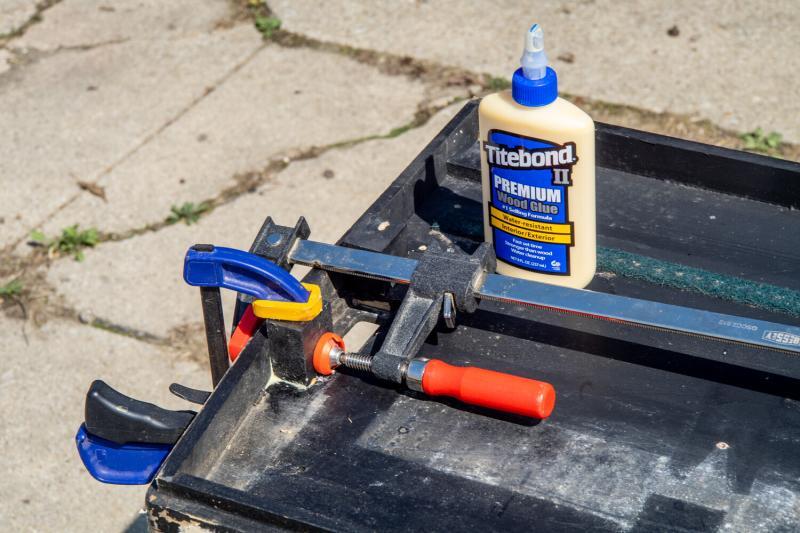
Wood glue and clamping to reattach.
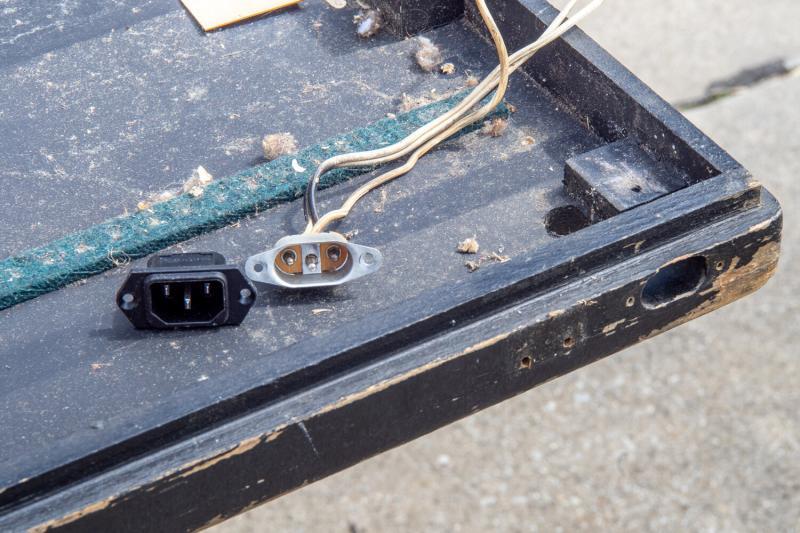
New IEC power inlet vs original 200 era power inlet, wired with lamp cord.
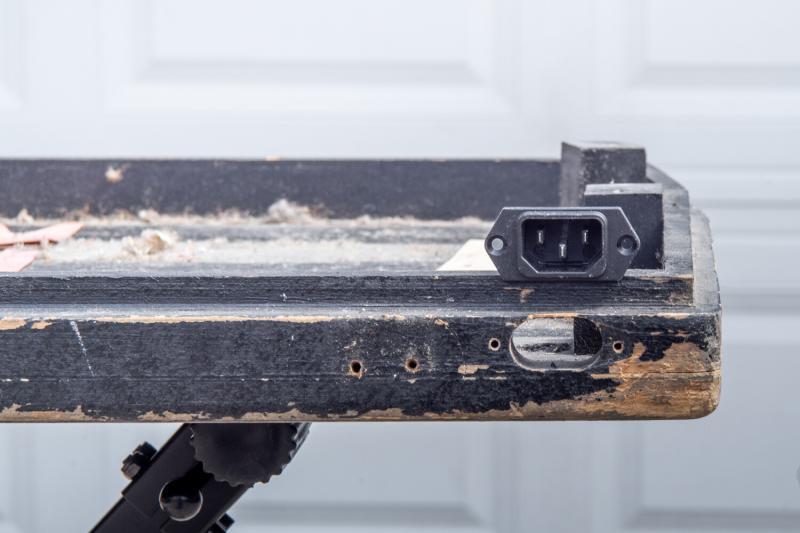
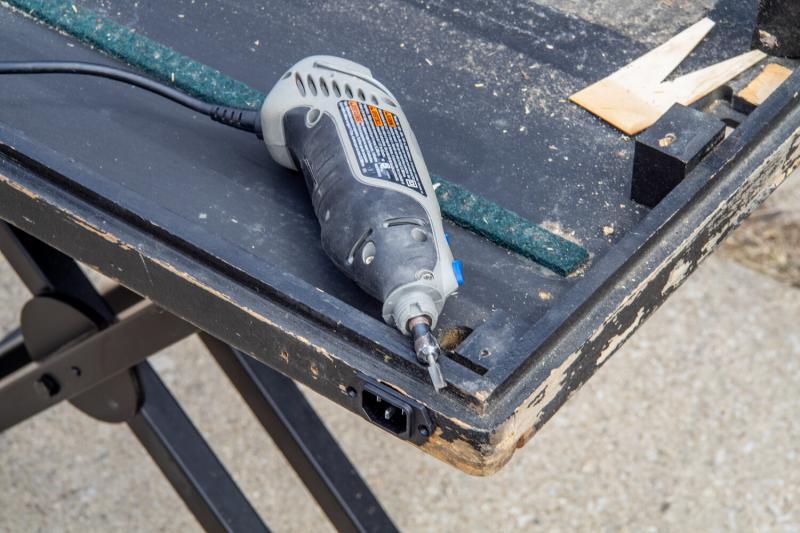
Original hole needs to be routed out to accommodate new IEC plug.
Dremel tool makes quick work of it!
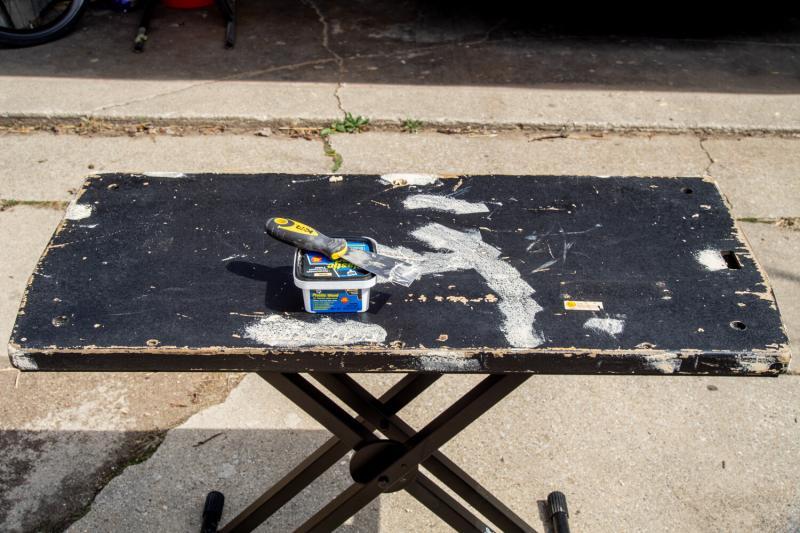
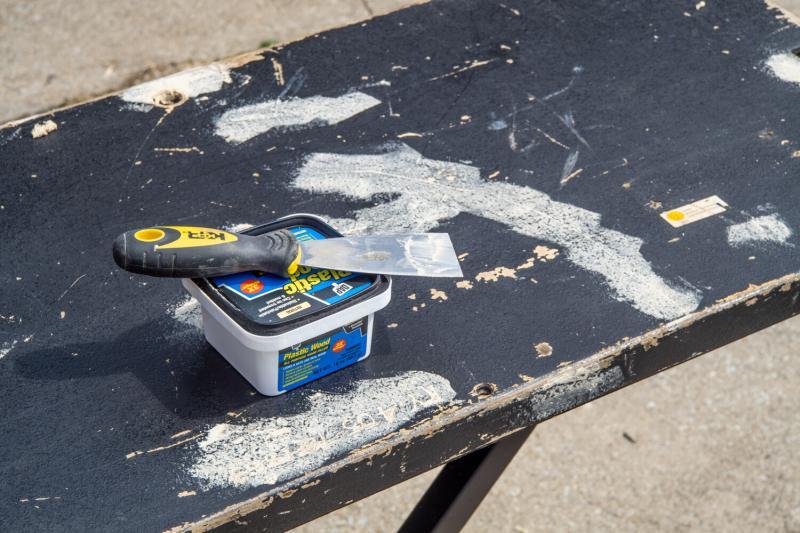
Most of the scratches and other imperfections can be covered up with wood filler.
Wood filler & putty knife.
Orbital palm sander evens out the texture of the base.
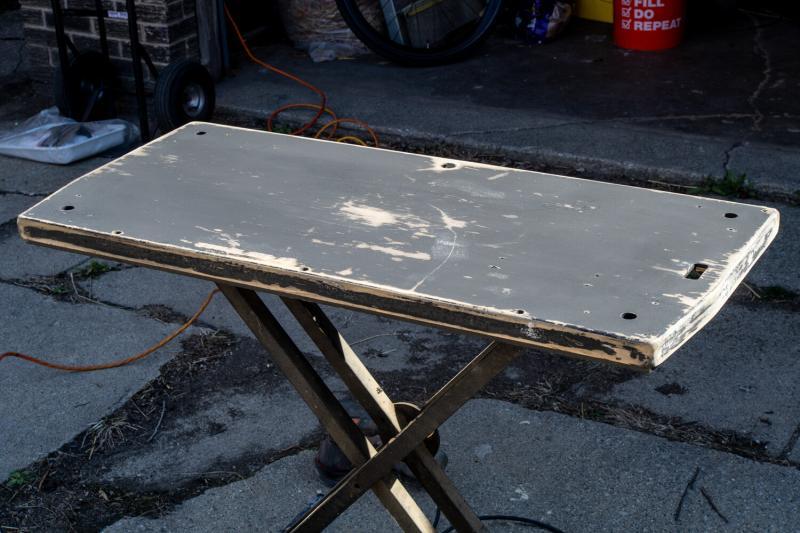
Base after wood filler has set and rough sanding.
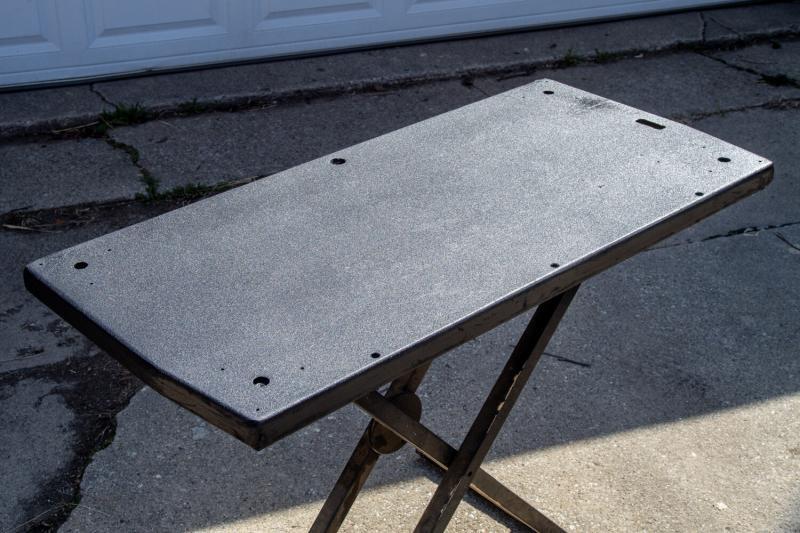
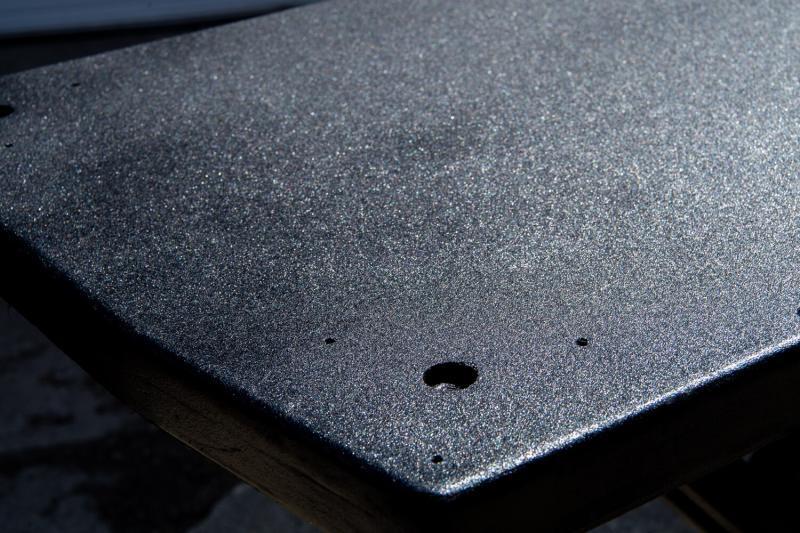
After spraying. I used multiple coats of a truckbed liner, which is not only very durable but adds some texture to help even out any imperfections.
Looks good as new!
Close up of the finished texture.
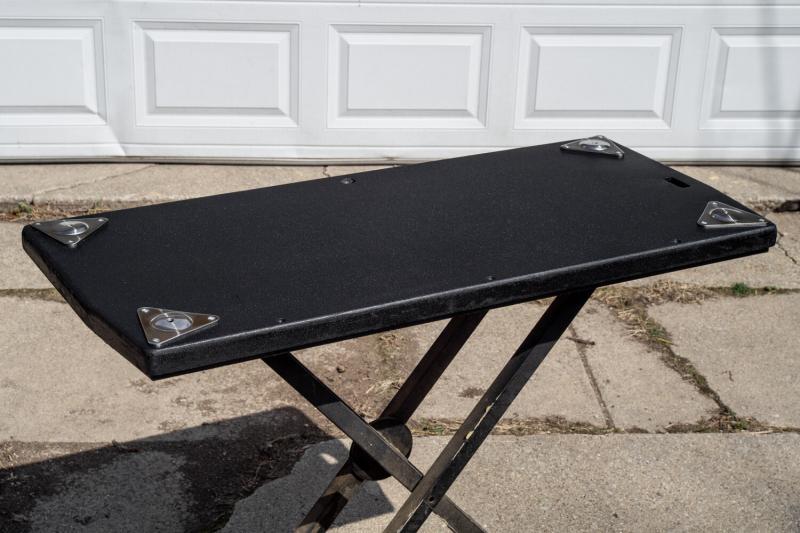
Reproduction leg plates applied.
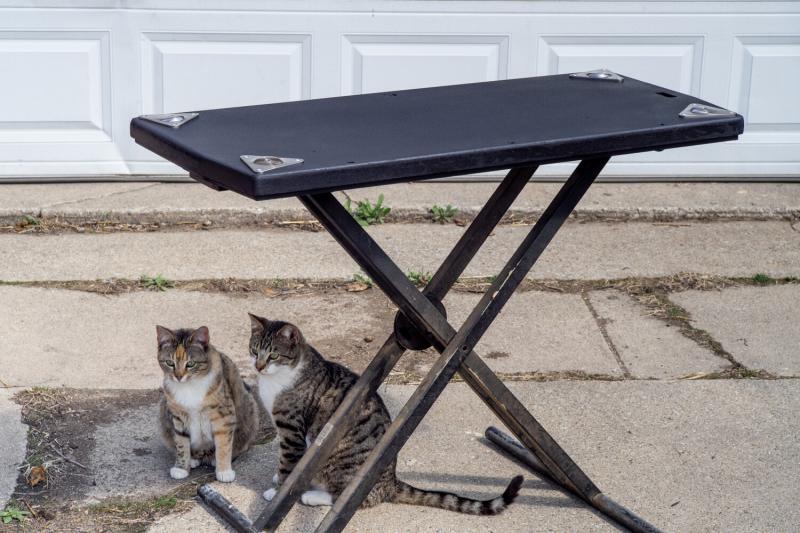
Tortie and Tuff Guy inspect the progress.
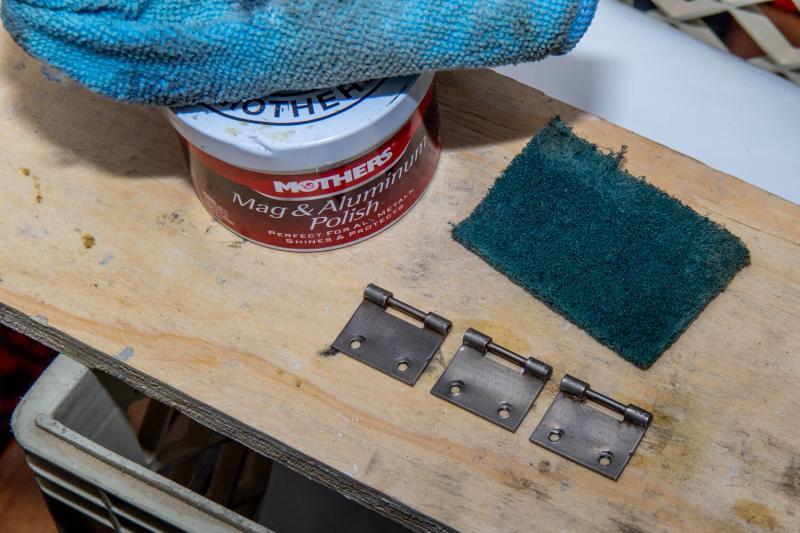
Lid hinges as found, showing signs of oxidation and rust.
After a thorough cleaning and buffing, they look much better!

Mechanical Restoration:

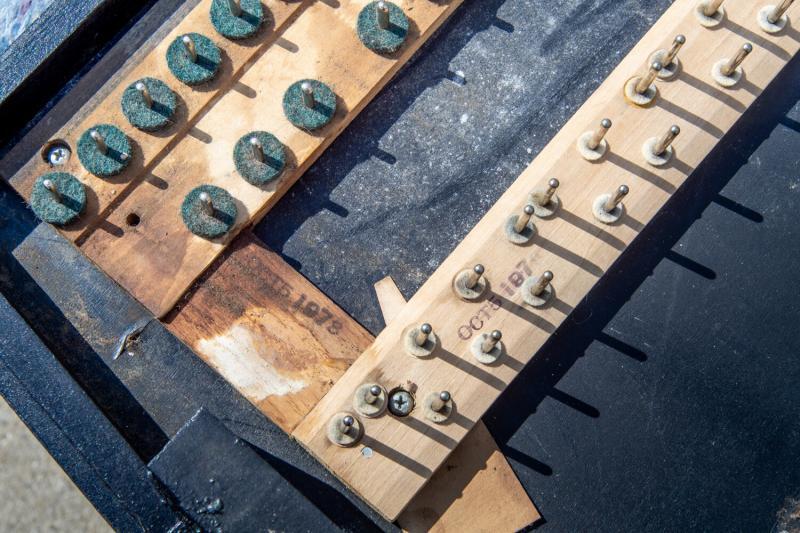
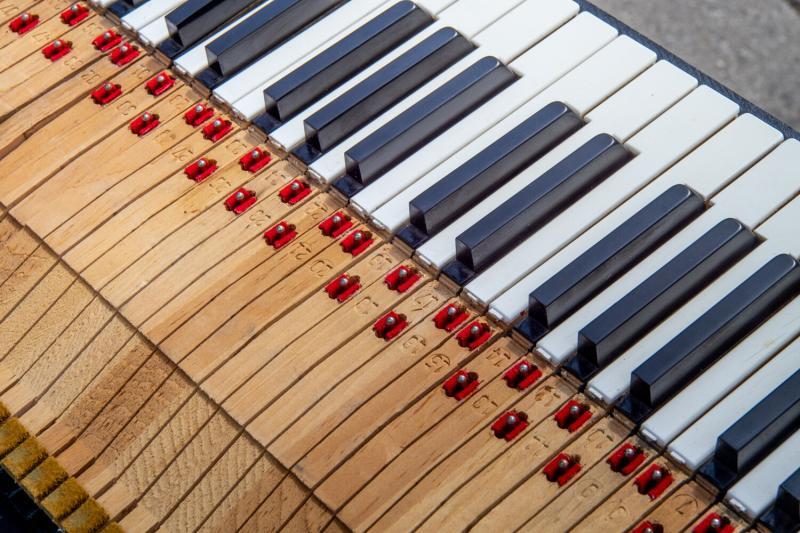
Another date stamp, located on the key frame.
The bushing felts in this piano were literally falling out.
Close up of the loose and missing felts.
Fresh set of felts installed!
This will go a long with in rejuvenating the feel of the action. Fresh bushing felts minimize side to side movement in the keys.
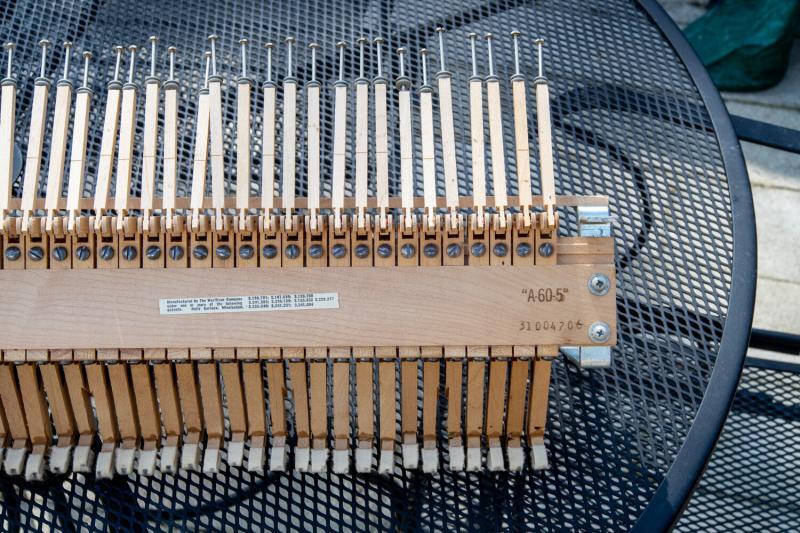
Action assembly removed from the piano. We now know that the first number of the 8 digit code correlates to assembly year (3 for 1973).
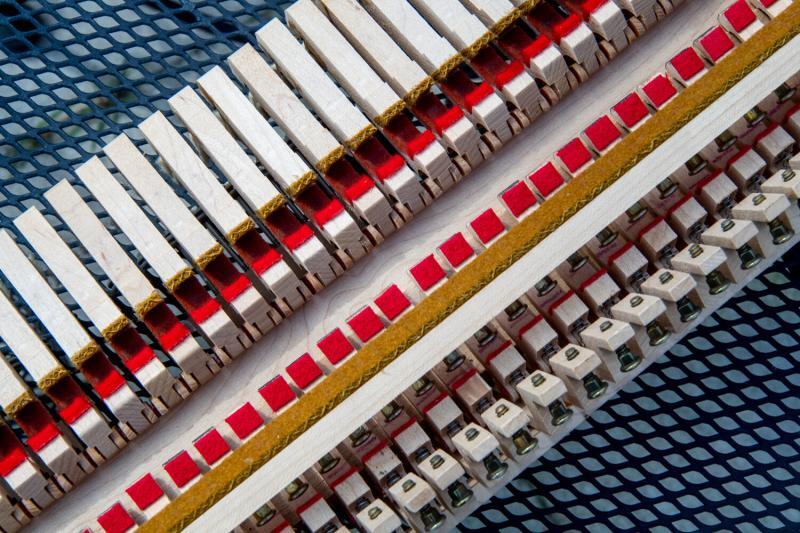
Felts and springs inside the action assembly.
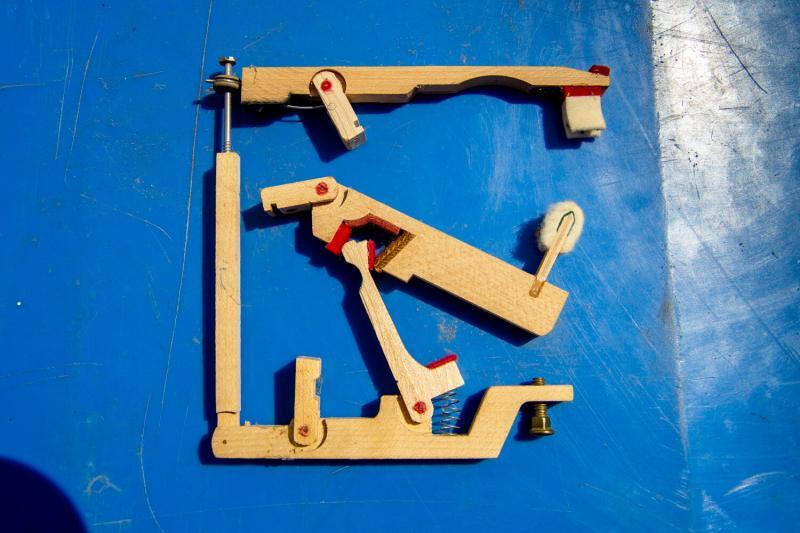
Mock up of the Wurlitzer action design. From top to bottom: Damper arm, hammer, whip assembly. All the action centers (round felts) receive lubrication and every capstan is adjusted during the regulation process.
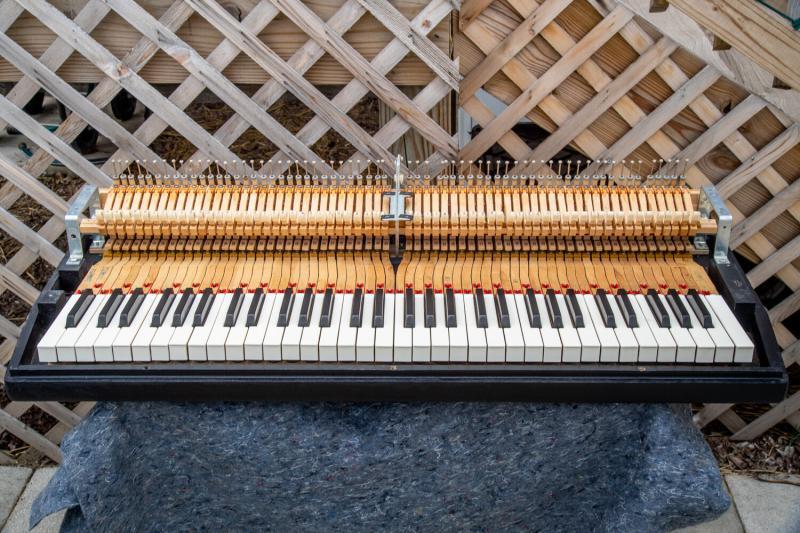
After the first pass of the lost motion adjustment. The rain was coming, so I had to move inside!
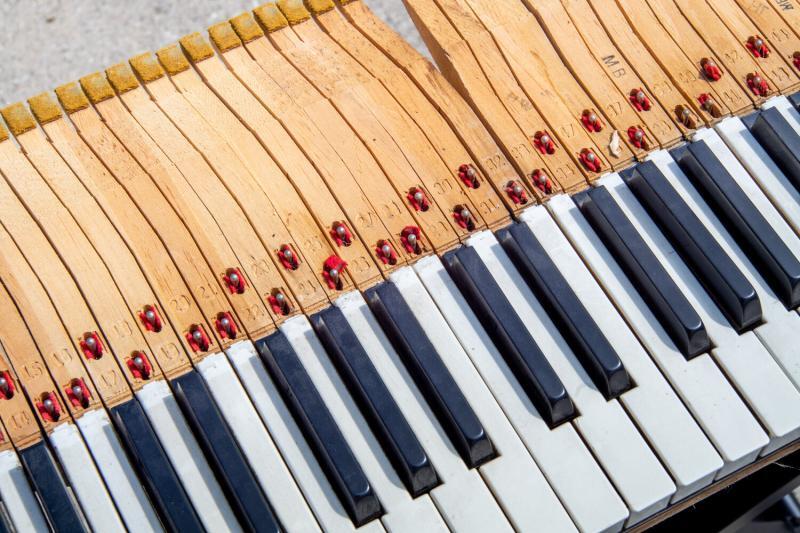
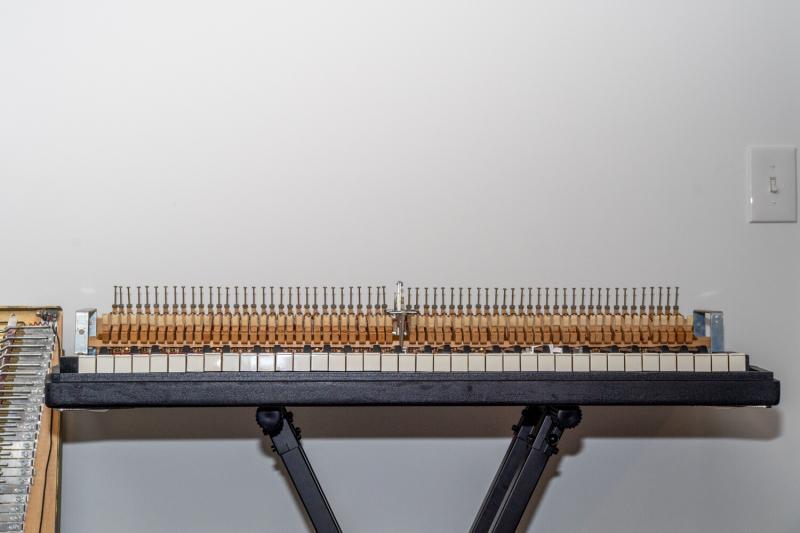
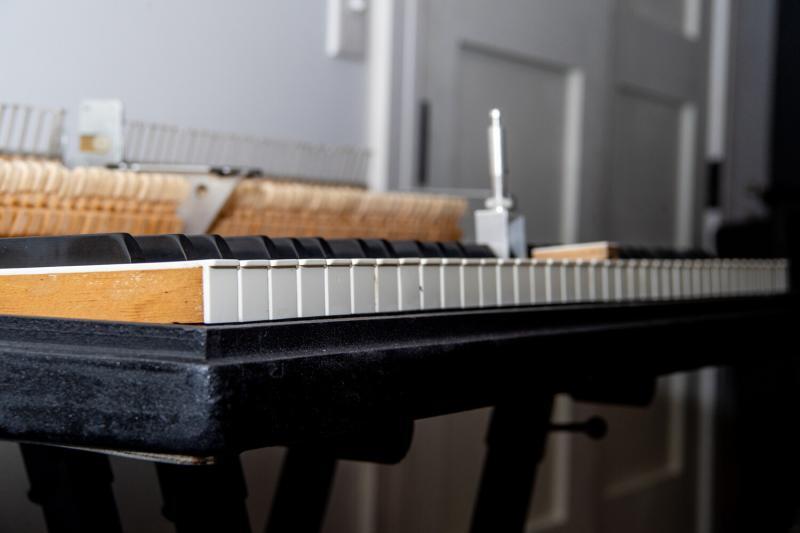
Upon closer inspection, this keybed is way out of level!
Front view of keybed prior to leveling.
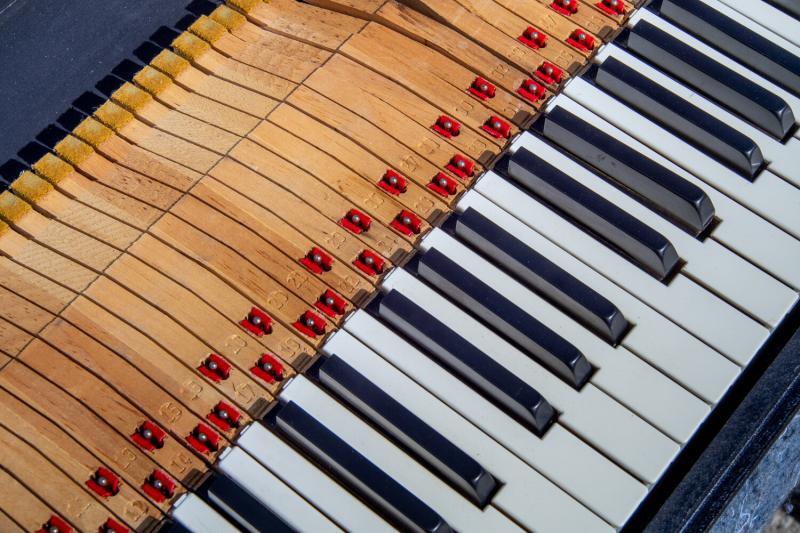
After leveling. Much better!
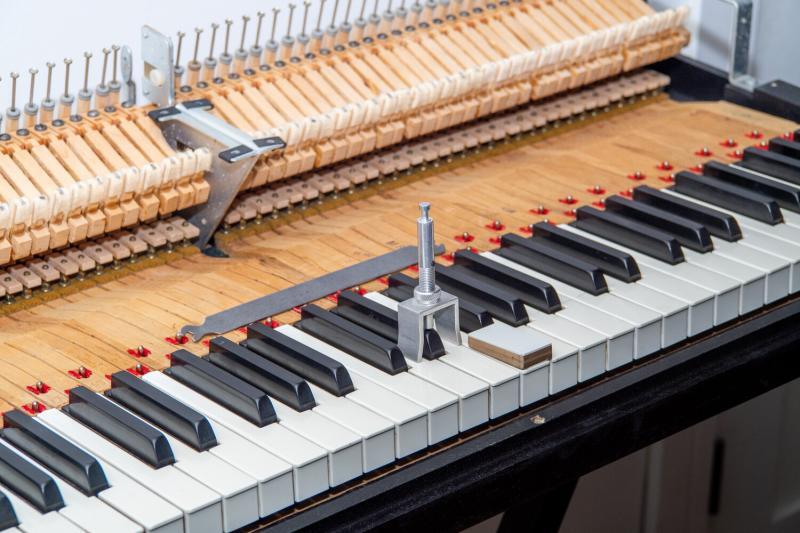
Some tools of the trade: regulation wrench, black key height adjustment tool, white key dip block.
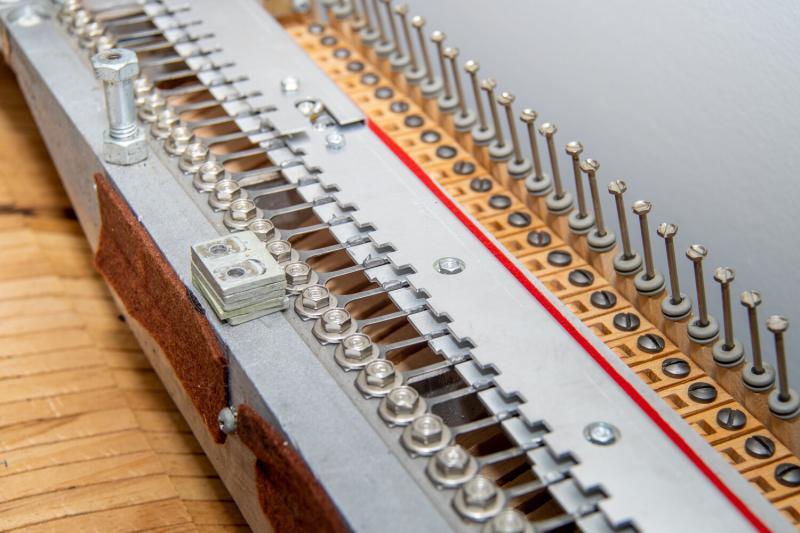
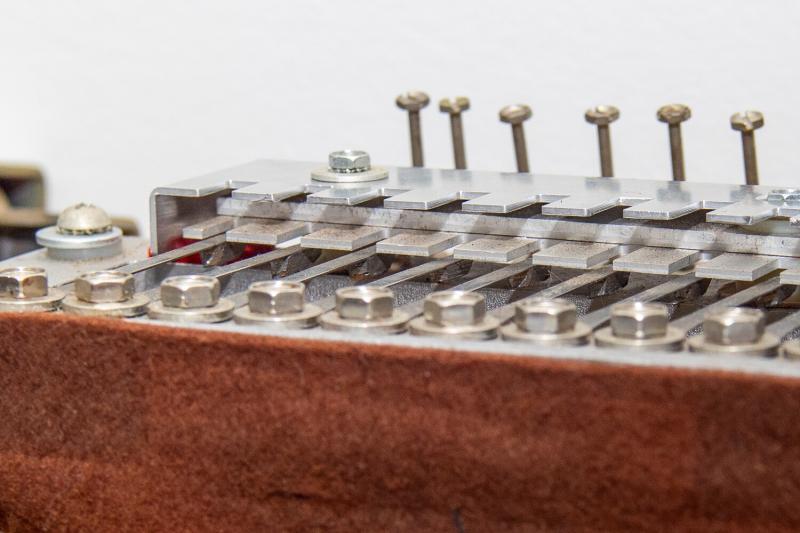
Reed bar shields applied. These are a stock feature of the later 200a model, and make a noticeable difference with pickup noise. We also remove the reed plates found in the midrange of these pianos as they inhibit fine tuning and voicing.
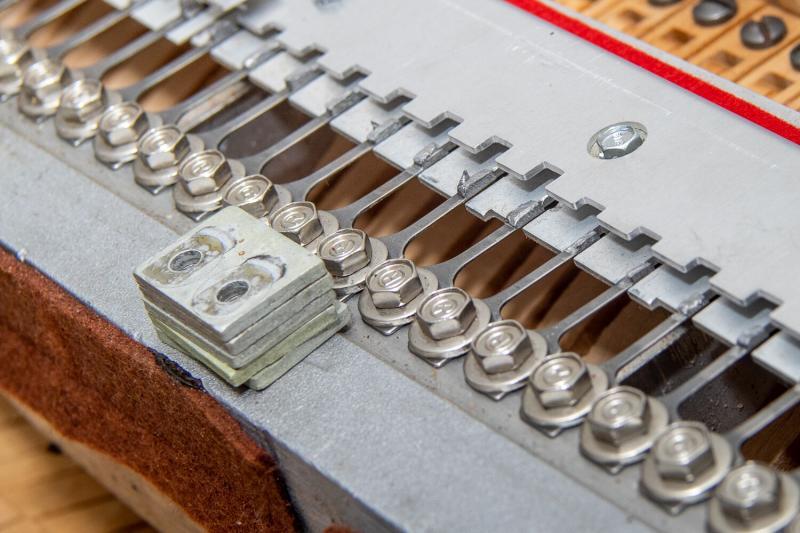
A closer inspection reveals solder blobs on reeds from a previous tuning job. These will have to be removed and reshaped as part of the voicing process.
Reed bar shields in place. The relationship of the pickup to the reeds is important, particularly the bass section.
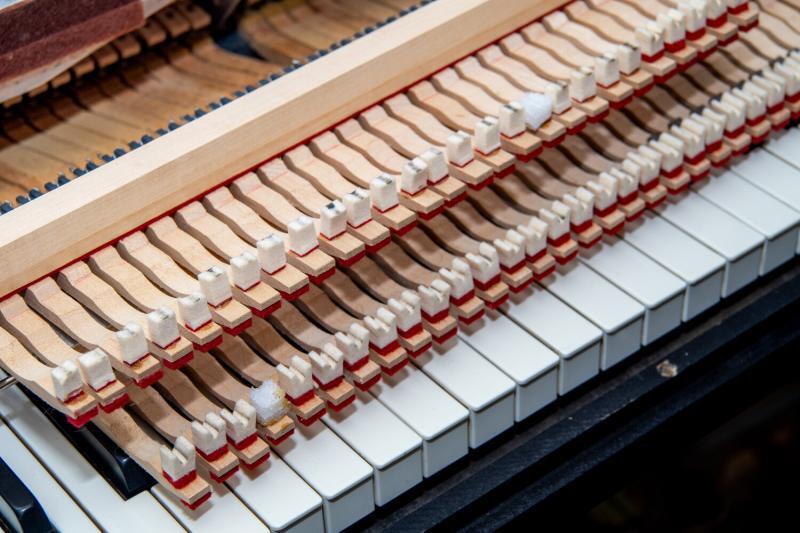
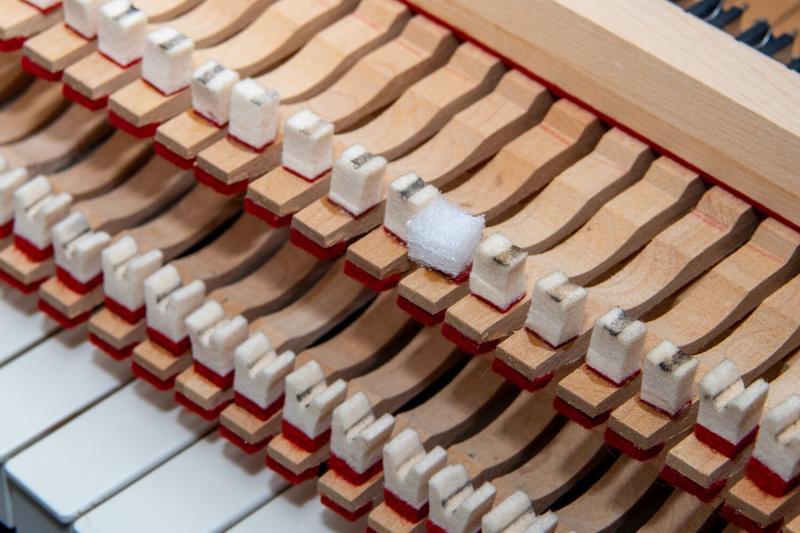
Damper set for this 200. As you can see, a couple have fallen off and been replaced with styrofoam.
Close up of foam damper.
Replaced and lubricated damper arms, ready for installation.
Tuning is underway!
All the notes marked with tape will require fine tuning. This means removing the reeds, adding or removing mass (solder), and reshaping for pleasing harmonic voicing.


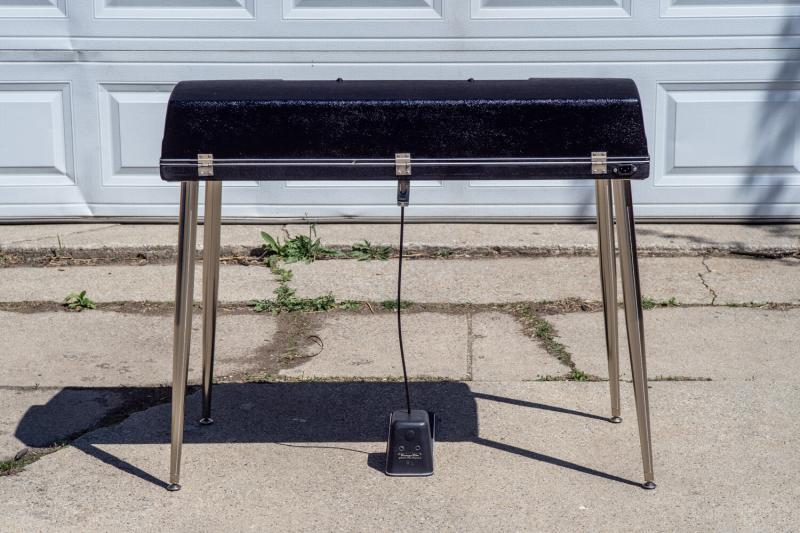
The finished product: a 360 view.

Reassembly and Completion:

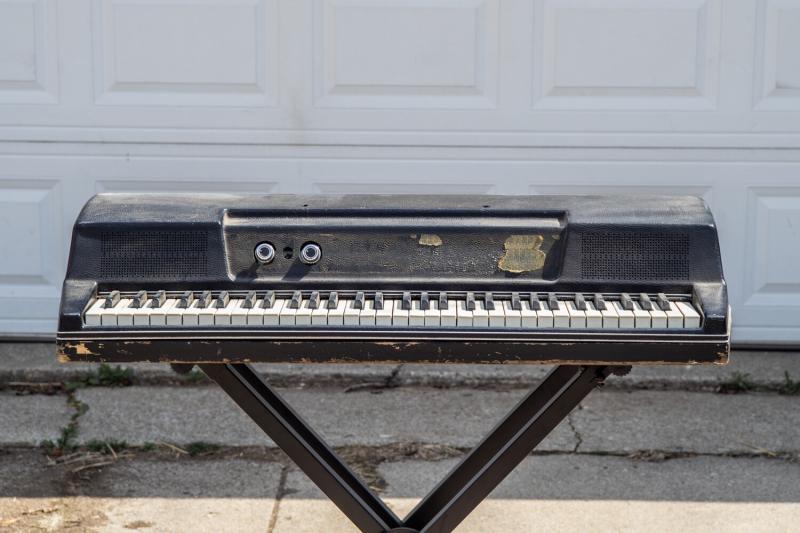
New reproduction faceplate.
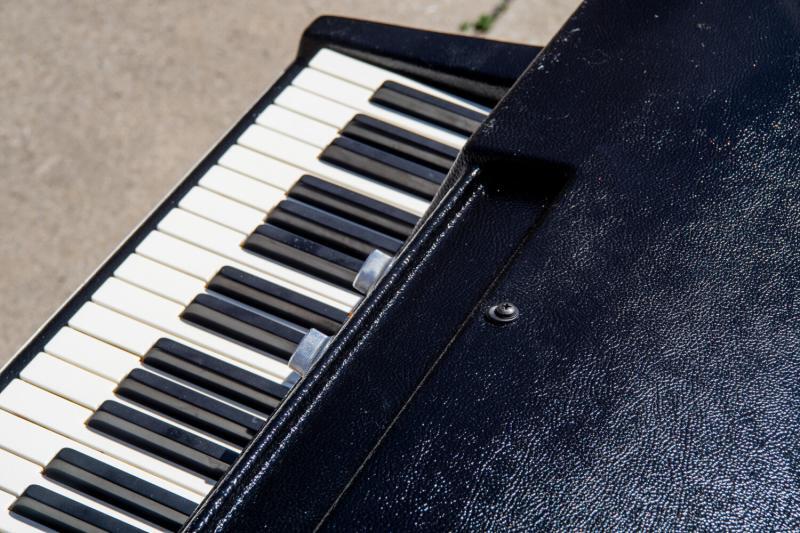
The black lid cleaned up remarkably well. What a difference from where it began!
IEC and polished lid hardware.
Detail of the black top.
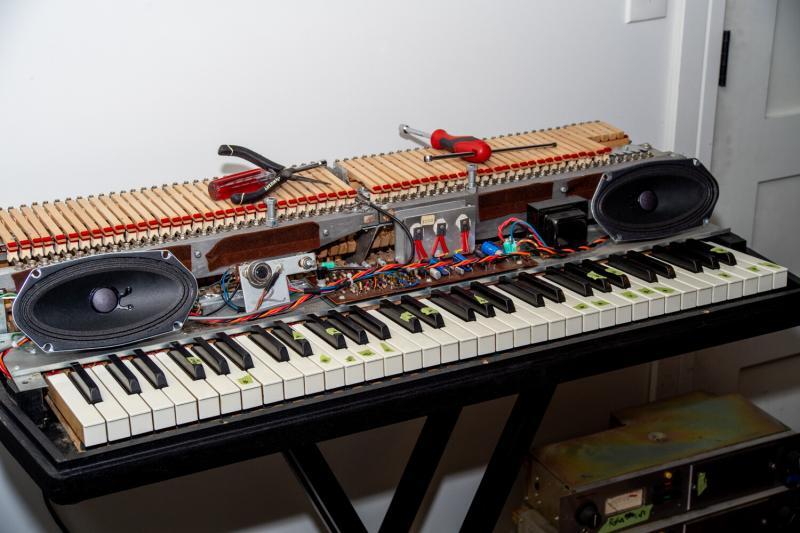
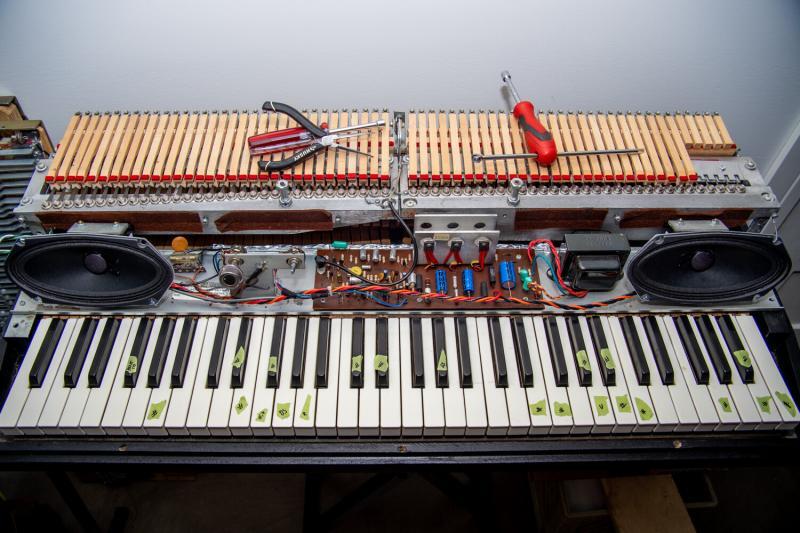
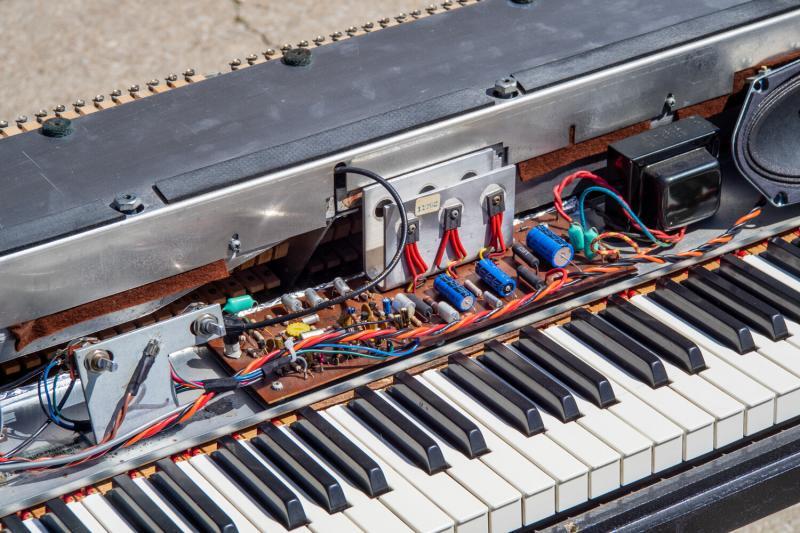
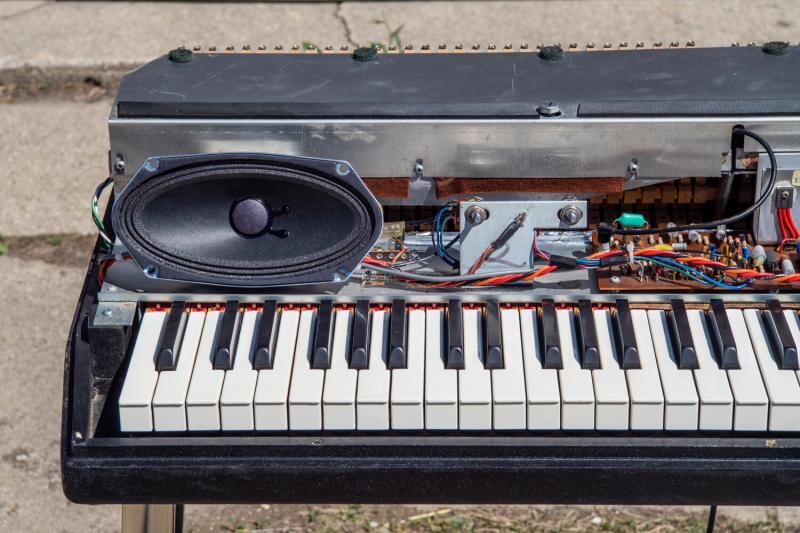
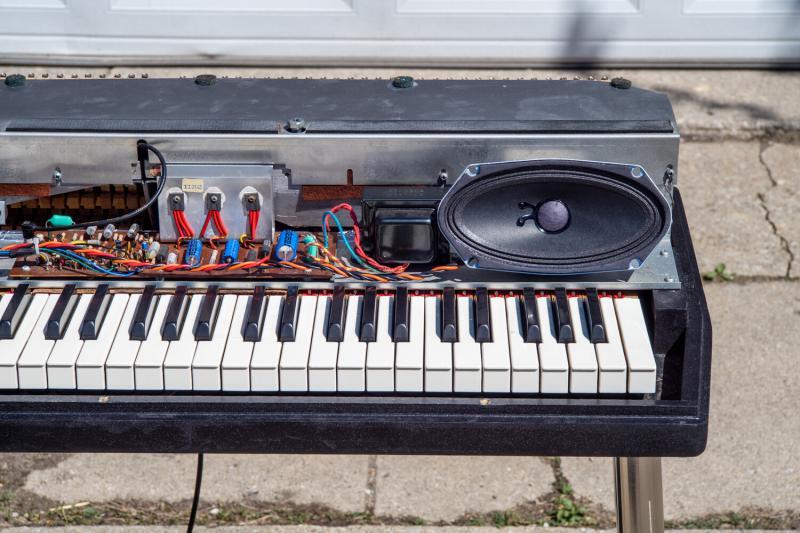
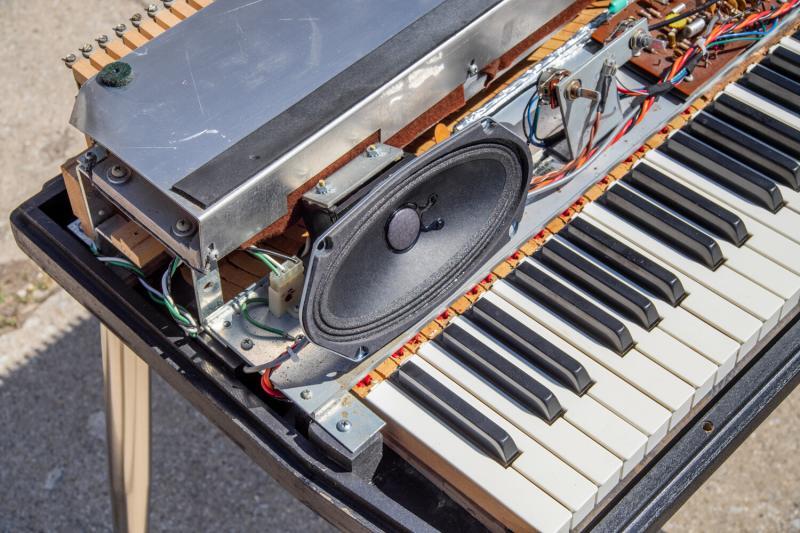
A peek under the hood...
New electrolytic capacitors on the amplifier stabilize the electronics and lower the noise floor.
Reproduction 200 series alnico speakers.
Tidy wiring throughout.
Detail of the electronics rebuild.
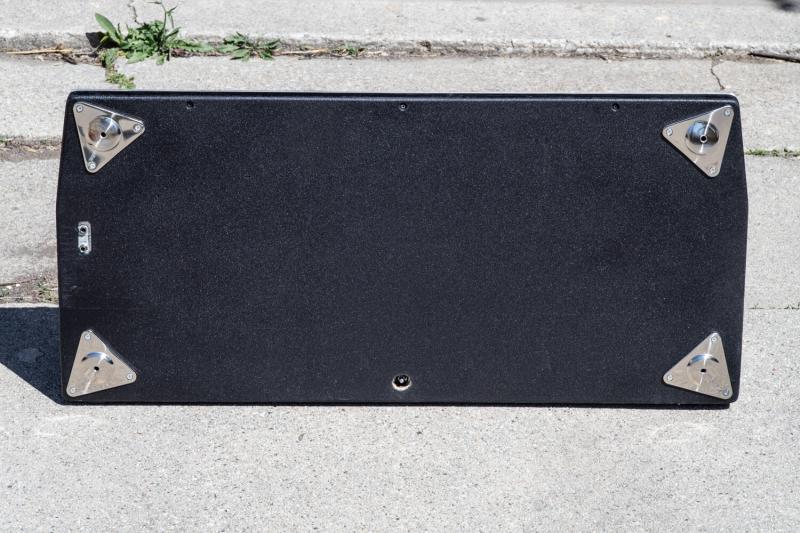
Electronics overhaul included rewiring the power input and adding a ground isolated output jack.
That's a clean base!
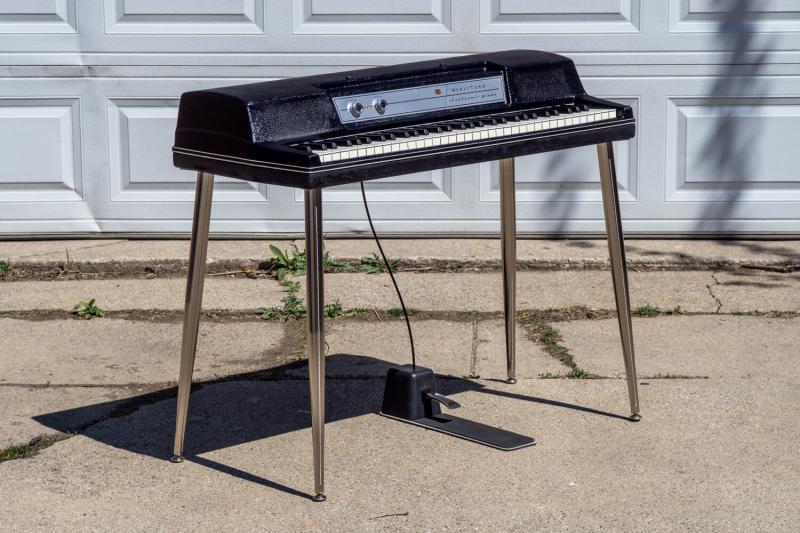
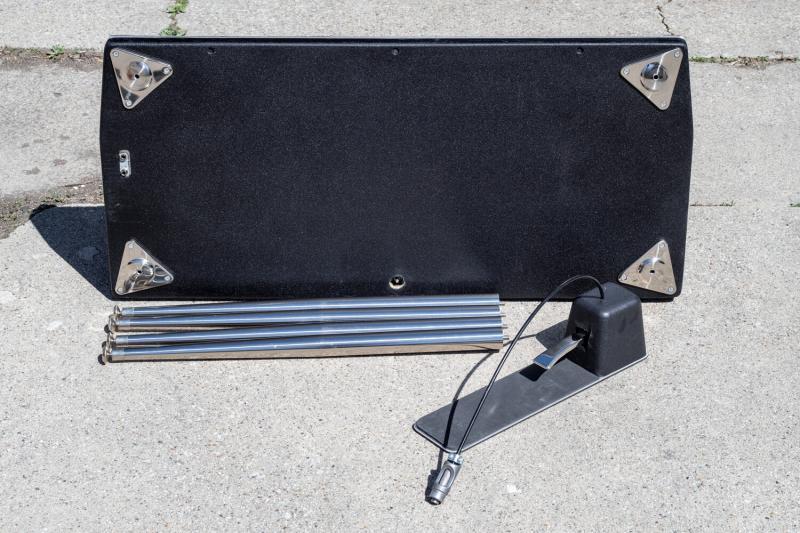
The complete package: Wurlitzer 200 along with reproduction legs and sustain pedal.


At this point, you may be wondering how it sounds. We got you. Enjoy these recordings of the finished instrument!

Supertramp – Take the Long Way Home

Kimbra – Wandering Limbs

Vulfpeck – Sky Mall

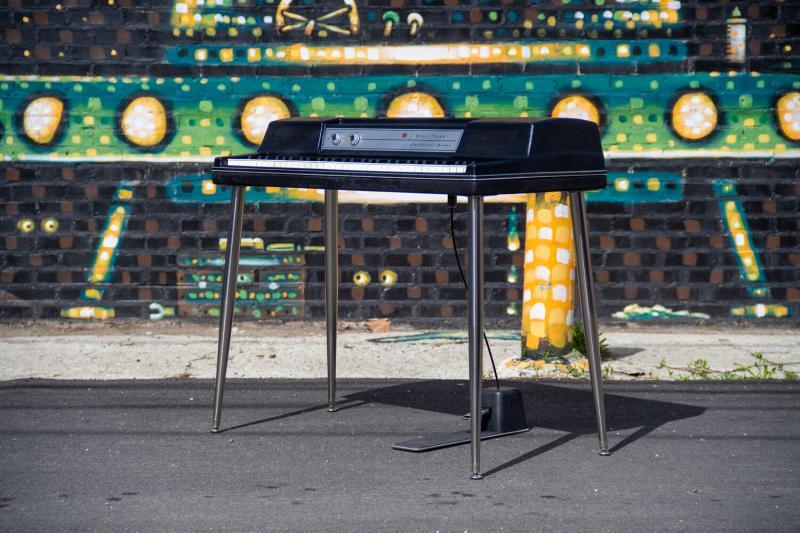
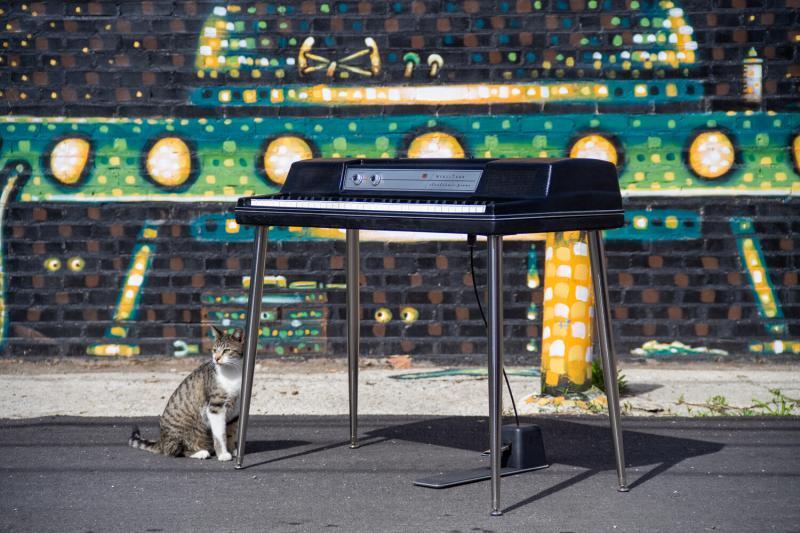
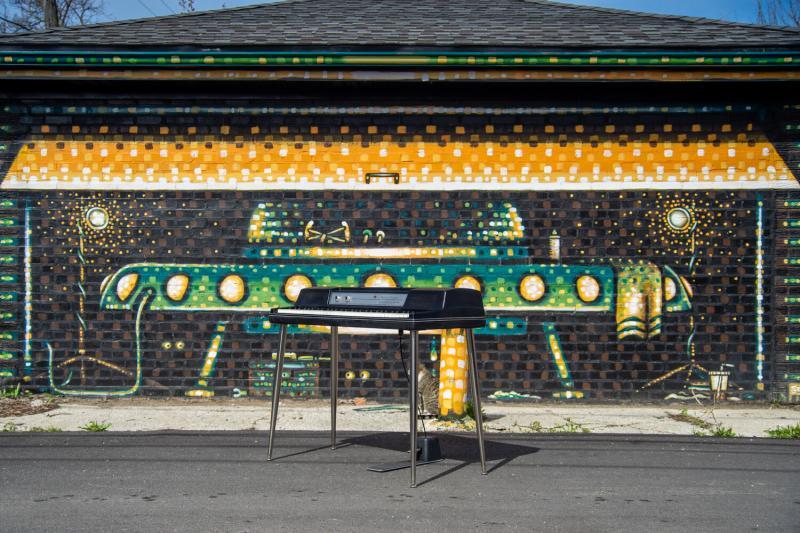
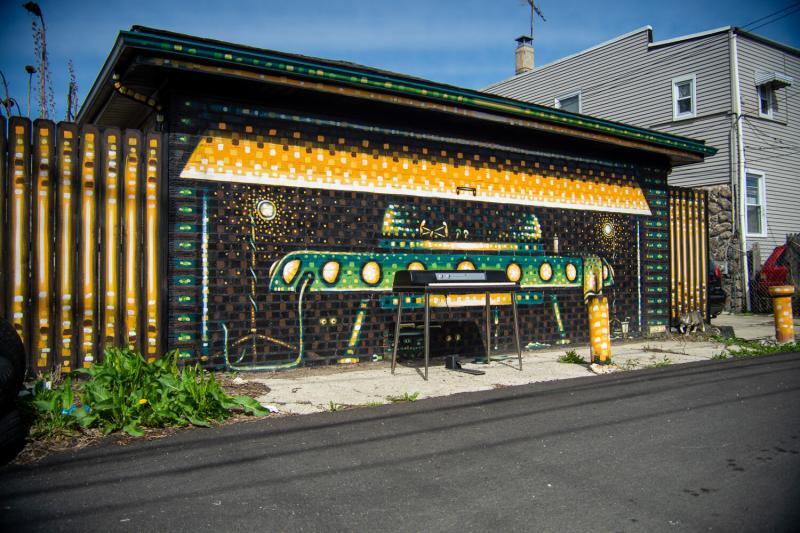
Alley Photoshoot (just for fun):

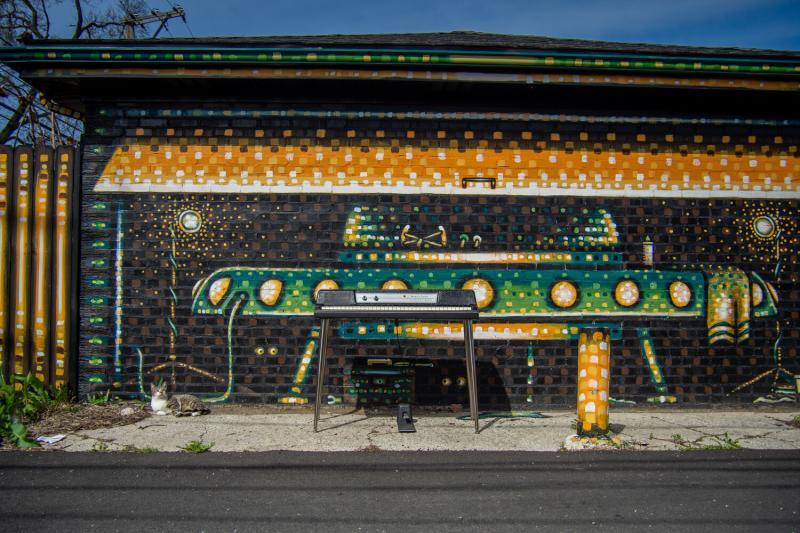
I’ve always wanted to snap some photos of an instrument in my alley and this seemed like the perfect opportunity. This mural (by Chicago artist Sick Fisher) provided a nice colorful backdrop. It also features a couple cameos from assistant tech and all around sweetie Tuff Guy the cat.

The truth is out there!


Hopefully this gives you some insight into our restoration process, techniques and philosophy. If you’ve made it this far, nice job!

All photos shot “on location” by Mike at his house in Chicago. Audio samples performed by Matt Blocher and recorded DI at the Chicago Electric Piano Company. 

Got a Wurlitzer in need of repair? Interested in purchasing a fully restored piano? Don’t hesitate to reach out to us at info@chicagoelectricpiano.com!

Comments (4)

  1. Elliot 4 years ago

    Amazing!

  2. Eric 3 years ago

    Well done, but repainting it takes away the patina, I would have cleaned and repaired the outer casing, but not repainted, just laquered it – keeping the roadworn vintage look. But I guess there are two schools here…

    • Max Brink 3 years ago

      That’s an interesting school of thought, I guess. In the hundreds of Wurlitzers we’ve restored I’ve never had a single person ever request that we lacquer over the scratches and gouges on the bottom of their Wurlitzer in order to preserve the better. Some people opt not to refinish at all, but lacquering over the wear and tear would be a first for us.

  3. Mark Walmsley 4 months ago

    Well done, it looks and sounds great! I’m in the early stages of restoring a 1974 EP200 that was in similar condition (in Australia). I like the truck bed liner finish and might try that 🙂 I’m currently replacing the worn out springs…

Leave a reply

Your email address will not be published. Required fields are marked *

*